I would like to start with saying that I have the highest regard for Teachers, they are able to make the information available accessible and understandable. I apologise in advance for the my lack of skills in this regard.
It goes without saying that the rule safety first should be observed at all times
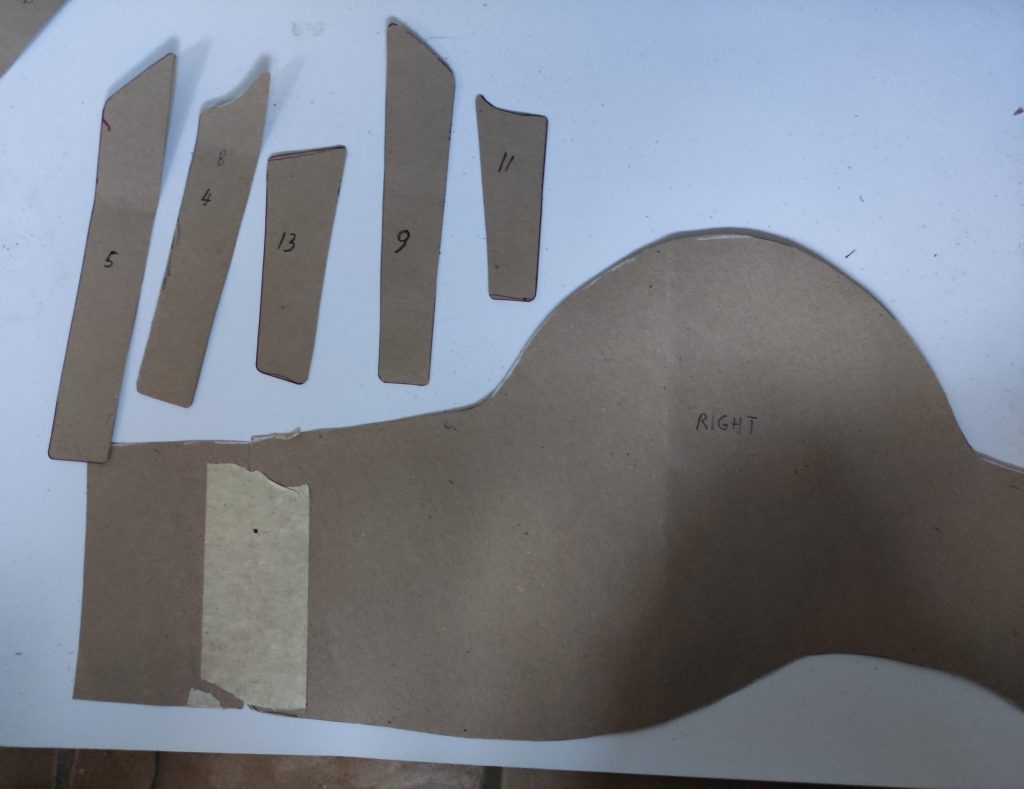
It starts with wrapping a piece of cardboard around your upper arm. Since it has to go all the way up to your shoulder you will find you have to mark with a pen or pencil where cut away a bit at the armpit. When you have cut away enough material to slide it all the way up to your shoulder, you can bend your arm a bit to see where you need to make your markings to cut away more material to be able to comfortably bend your arm completely.
You should now have cut a rough shape out of the cardboard and it is time to look into the materials.
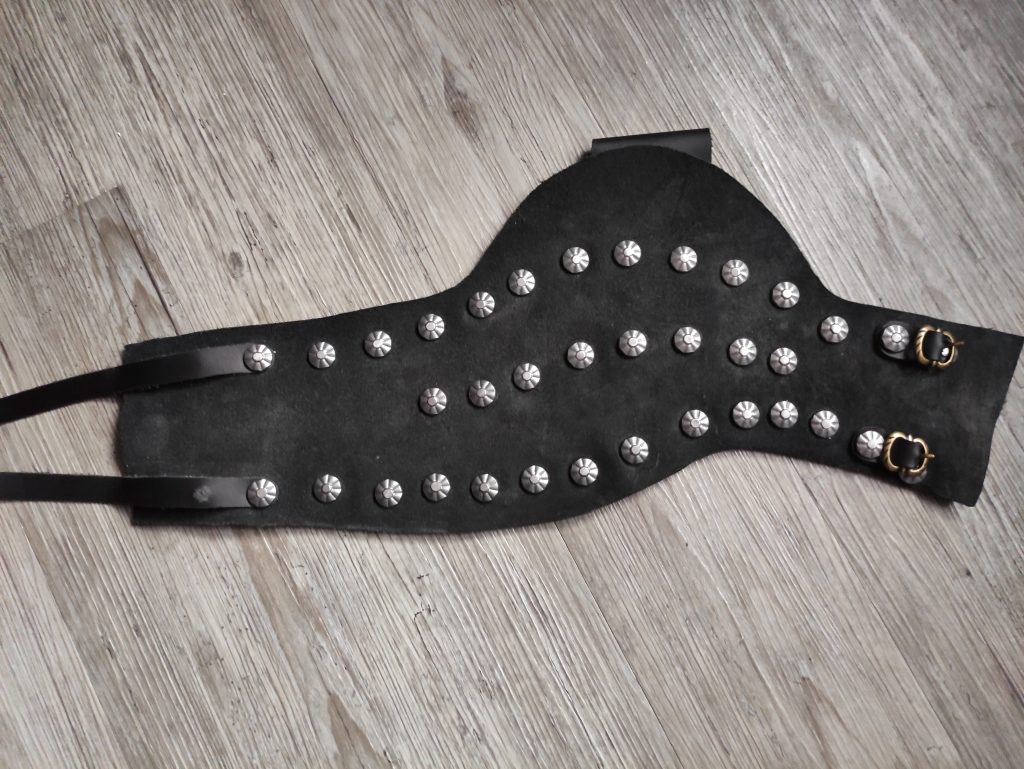
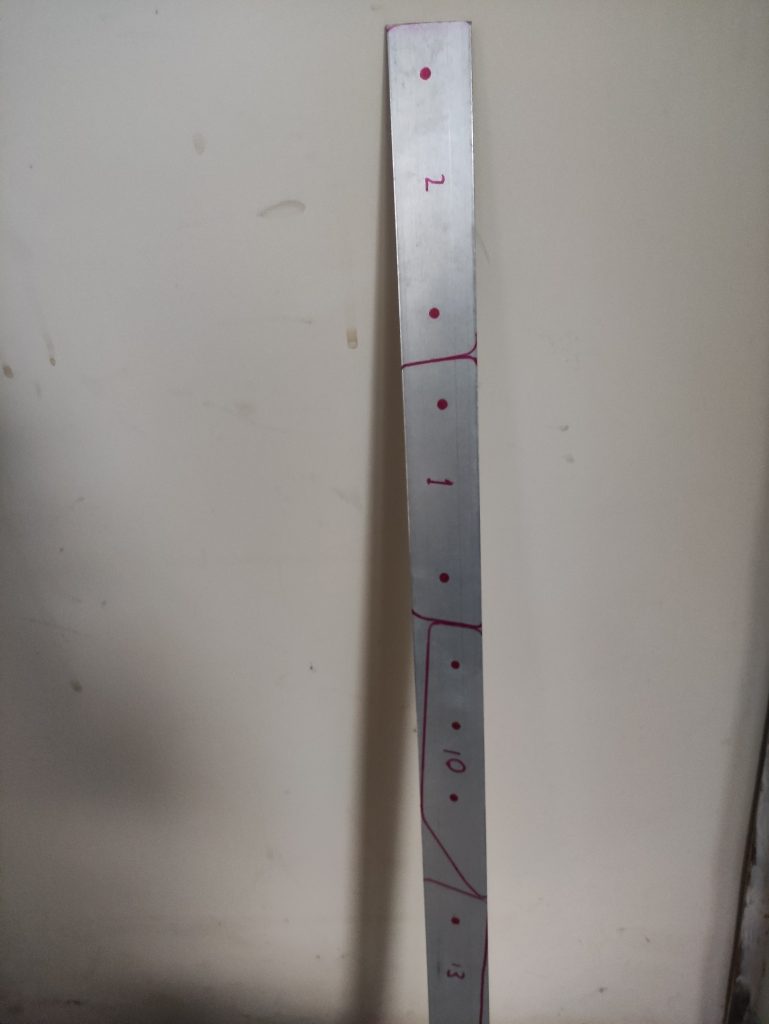
For the armour plating I think we can agree on steel strips, something ranging from 1 mm to 2 mm in thickness and around 4 cm wide. If you are using steel that is not coated in anything or isn’t stainless steel, don’t forget to paint or varnish it before attaching it to the backing to prevent rusting.
The backing can be anything period accurate like linen, wool or if you want to get fancy and have a higher budget, silk or silk velvet. for added stability you can add canvas where it isn’t visible. a great inexpensive source of canvas is old duffel bags. I used leather, which is great to work with but was not used as much for armour like this because in the middle ages the tanning processes were not as good as today, meaning that sometimes leather deteriorated way faster than cloth.
Rivets.. There are really nice looking brass rivets with decorated heads. These rivets are expensive and to make sure you don’t damage the decorations you need a slab of lead to put the heads on while riveting. Regular brass or copper rivets are easy to work with and look good, but I found some great cheap steel rivets with nice looking heads on the internet that are used for decorative iron or steel fences and gates.
I wont get into straps and buckles because there are a lot of cost efficient options available, like old belts, bending buckles out of metal wiring, and of course Ren fair bargain boxes
When you have cut the backing material in the shape op your cardboard template (don’t forget to cut it a bit larger to accommodate for the seams) After then cutting cardboard strips to the right length and shape to tightly fit on the backing material you should be left with something like this..

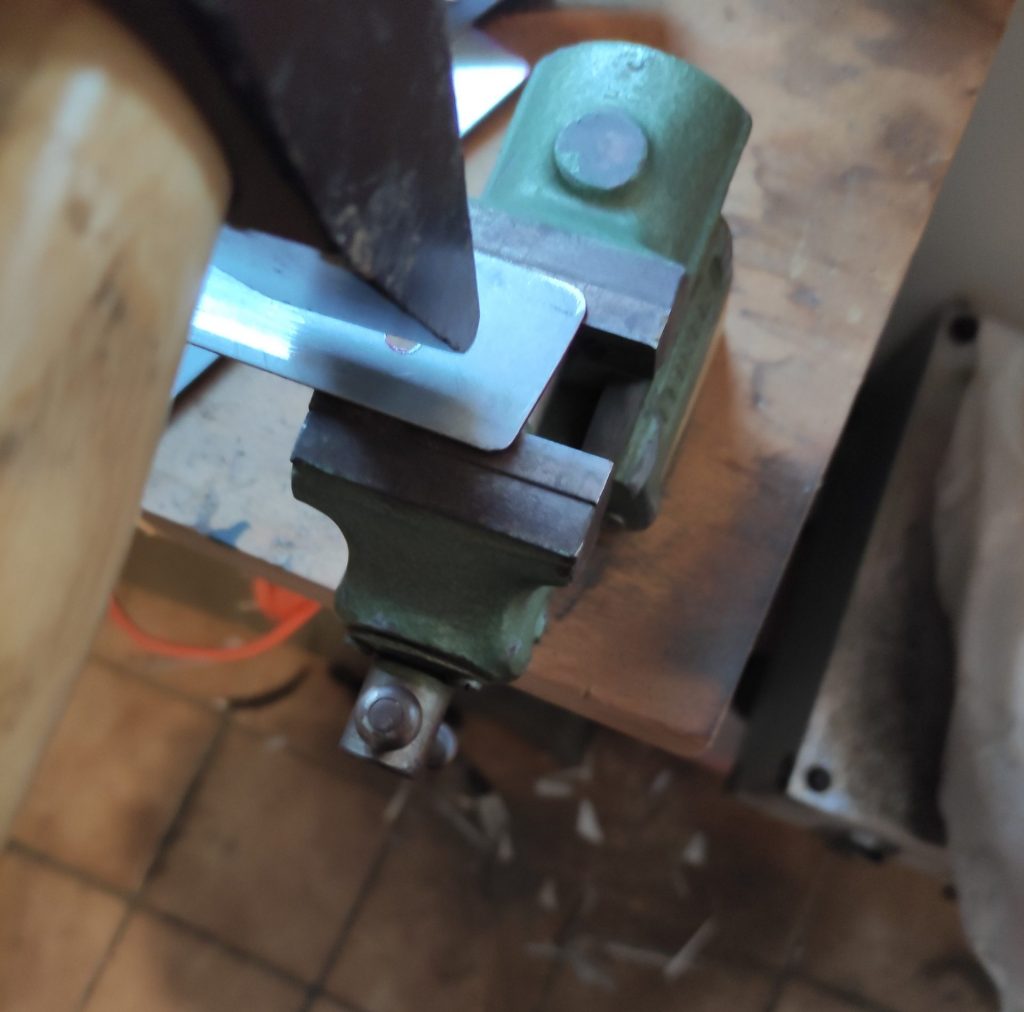
Now you should have a custom fitted rerebrace. the tools I used were those that I thought would be rather commonly found. a Hammer, a hacksaw, a cordless drill, a flat and a round metal file, a box cutter, a hole punch and instead of an anvil for riveting I used a sledgehammer that I put down with the striking face up.
I am working on couters, and will start on vambraces in the near future.